


Sensor DHT11 con LED y altavoz piezoeléctrico
Componentes y suministros
 |
| × | 1 | |||
 |
| × | 3 | |||
 |
| × | 12 | |||
 |
| × | 3 | |||
| × | 1 | ||||
 |
| × | 1 |
Aplicaciones y servicios en línea
 |
|
Acerca de este proyecto
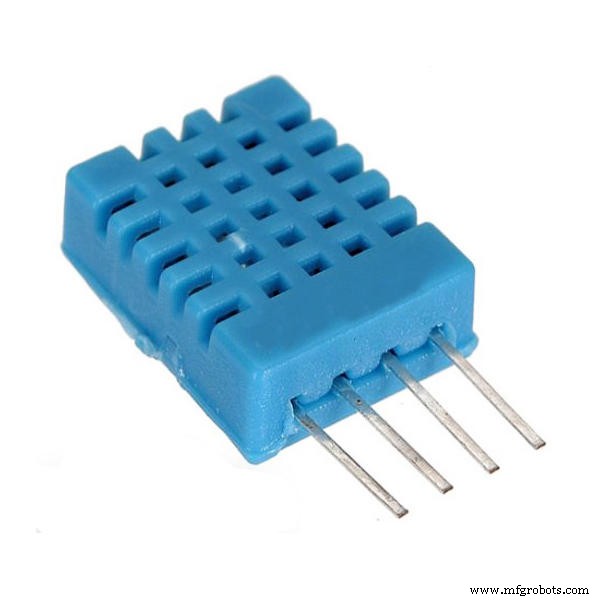
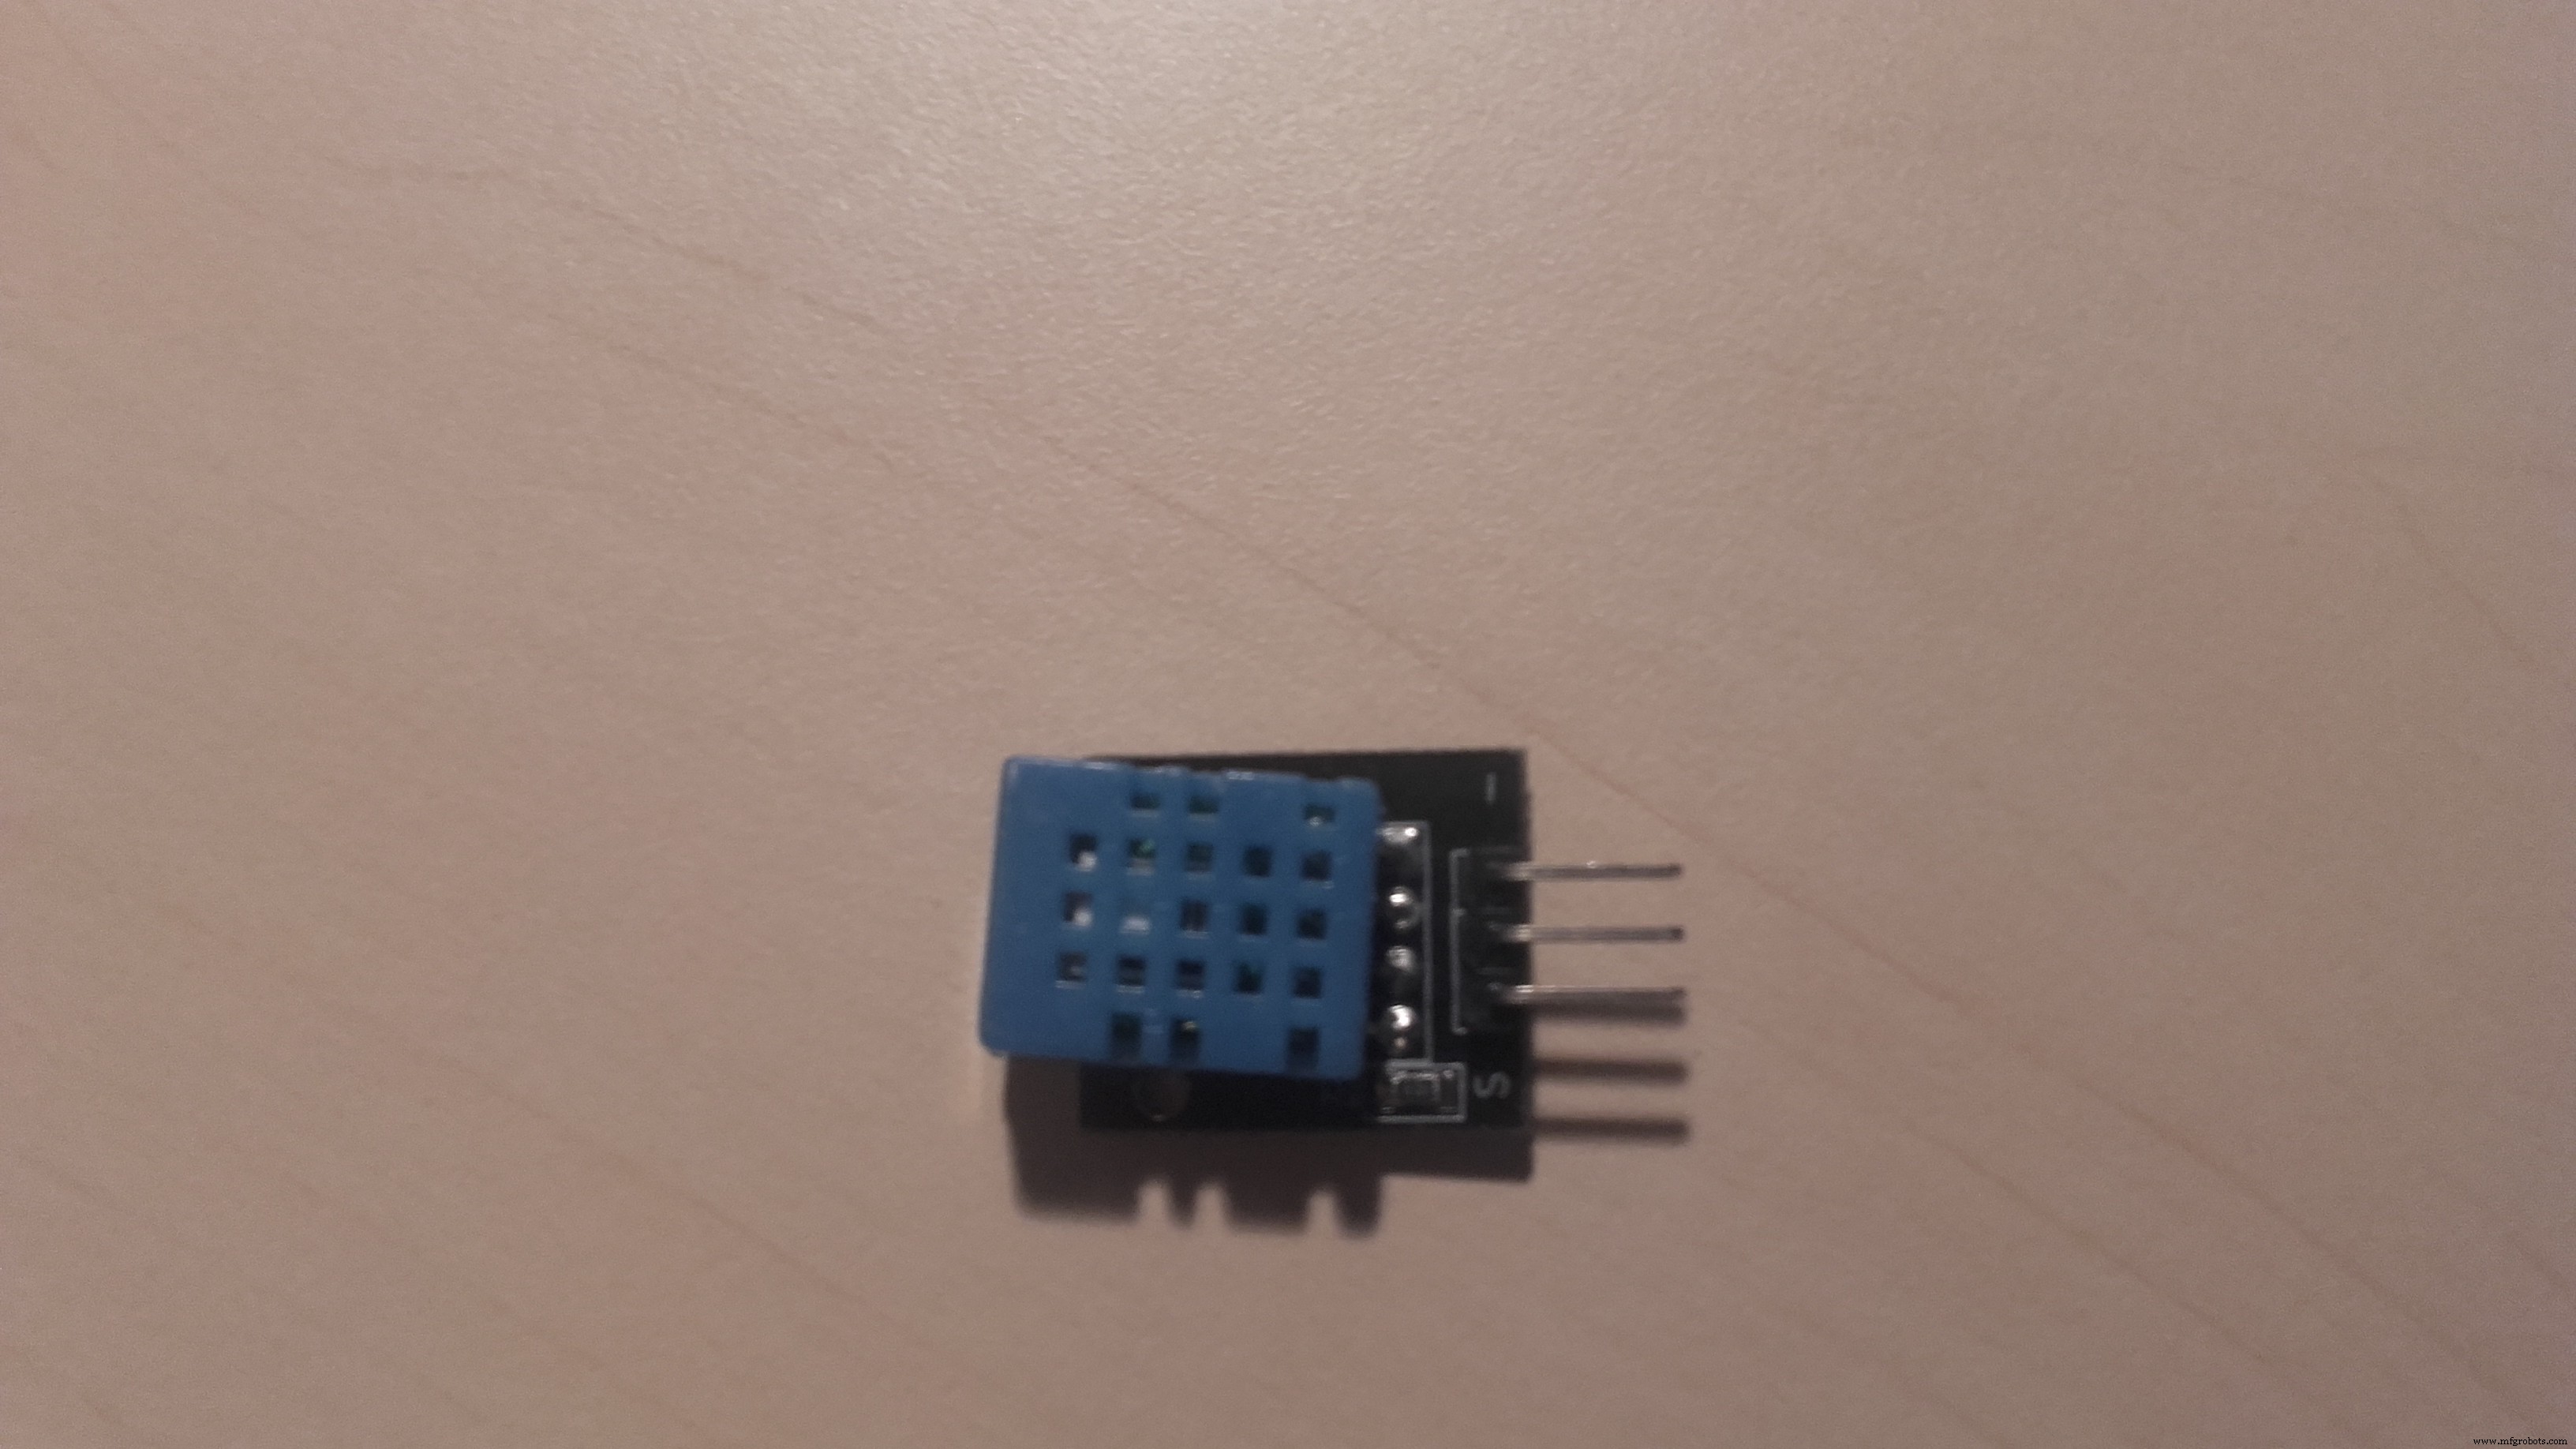
Este es mi cuarto proyecto. En este proyecto usaremos una temperatura DHT11 y tres LED que le mostrarán que la temperatura. hace demasiado calor, es perfecto o demasiado frío.
Este es el DHT11:
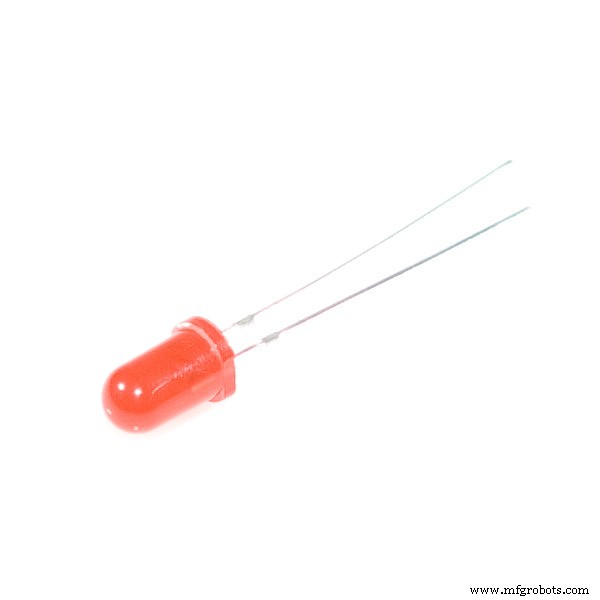
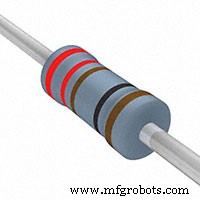
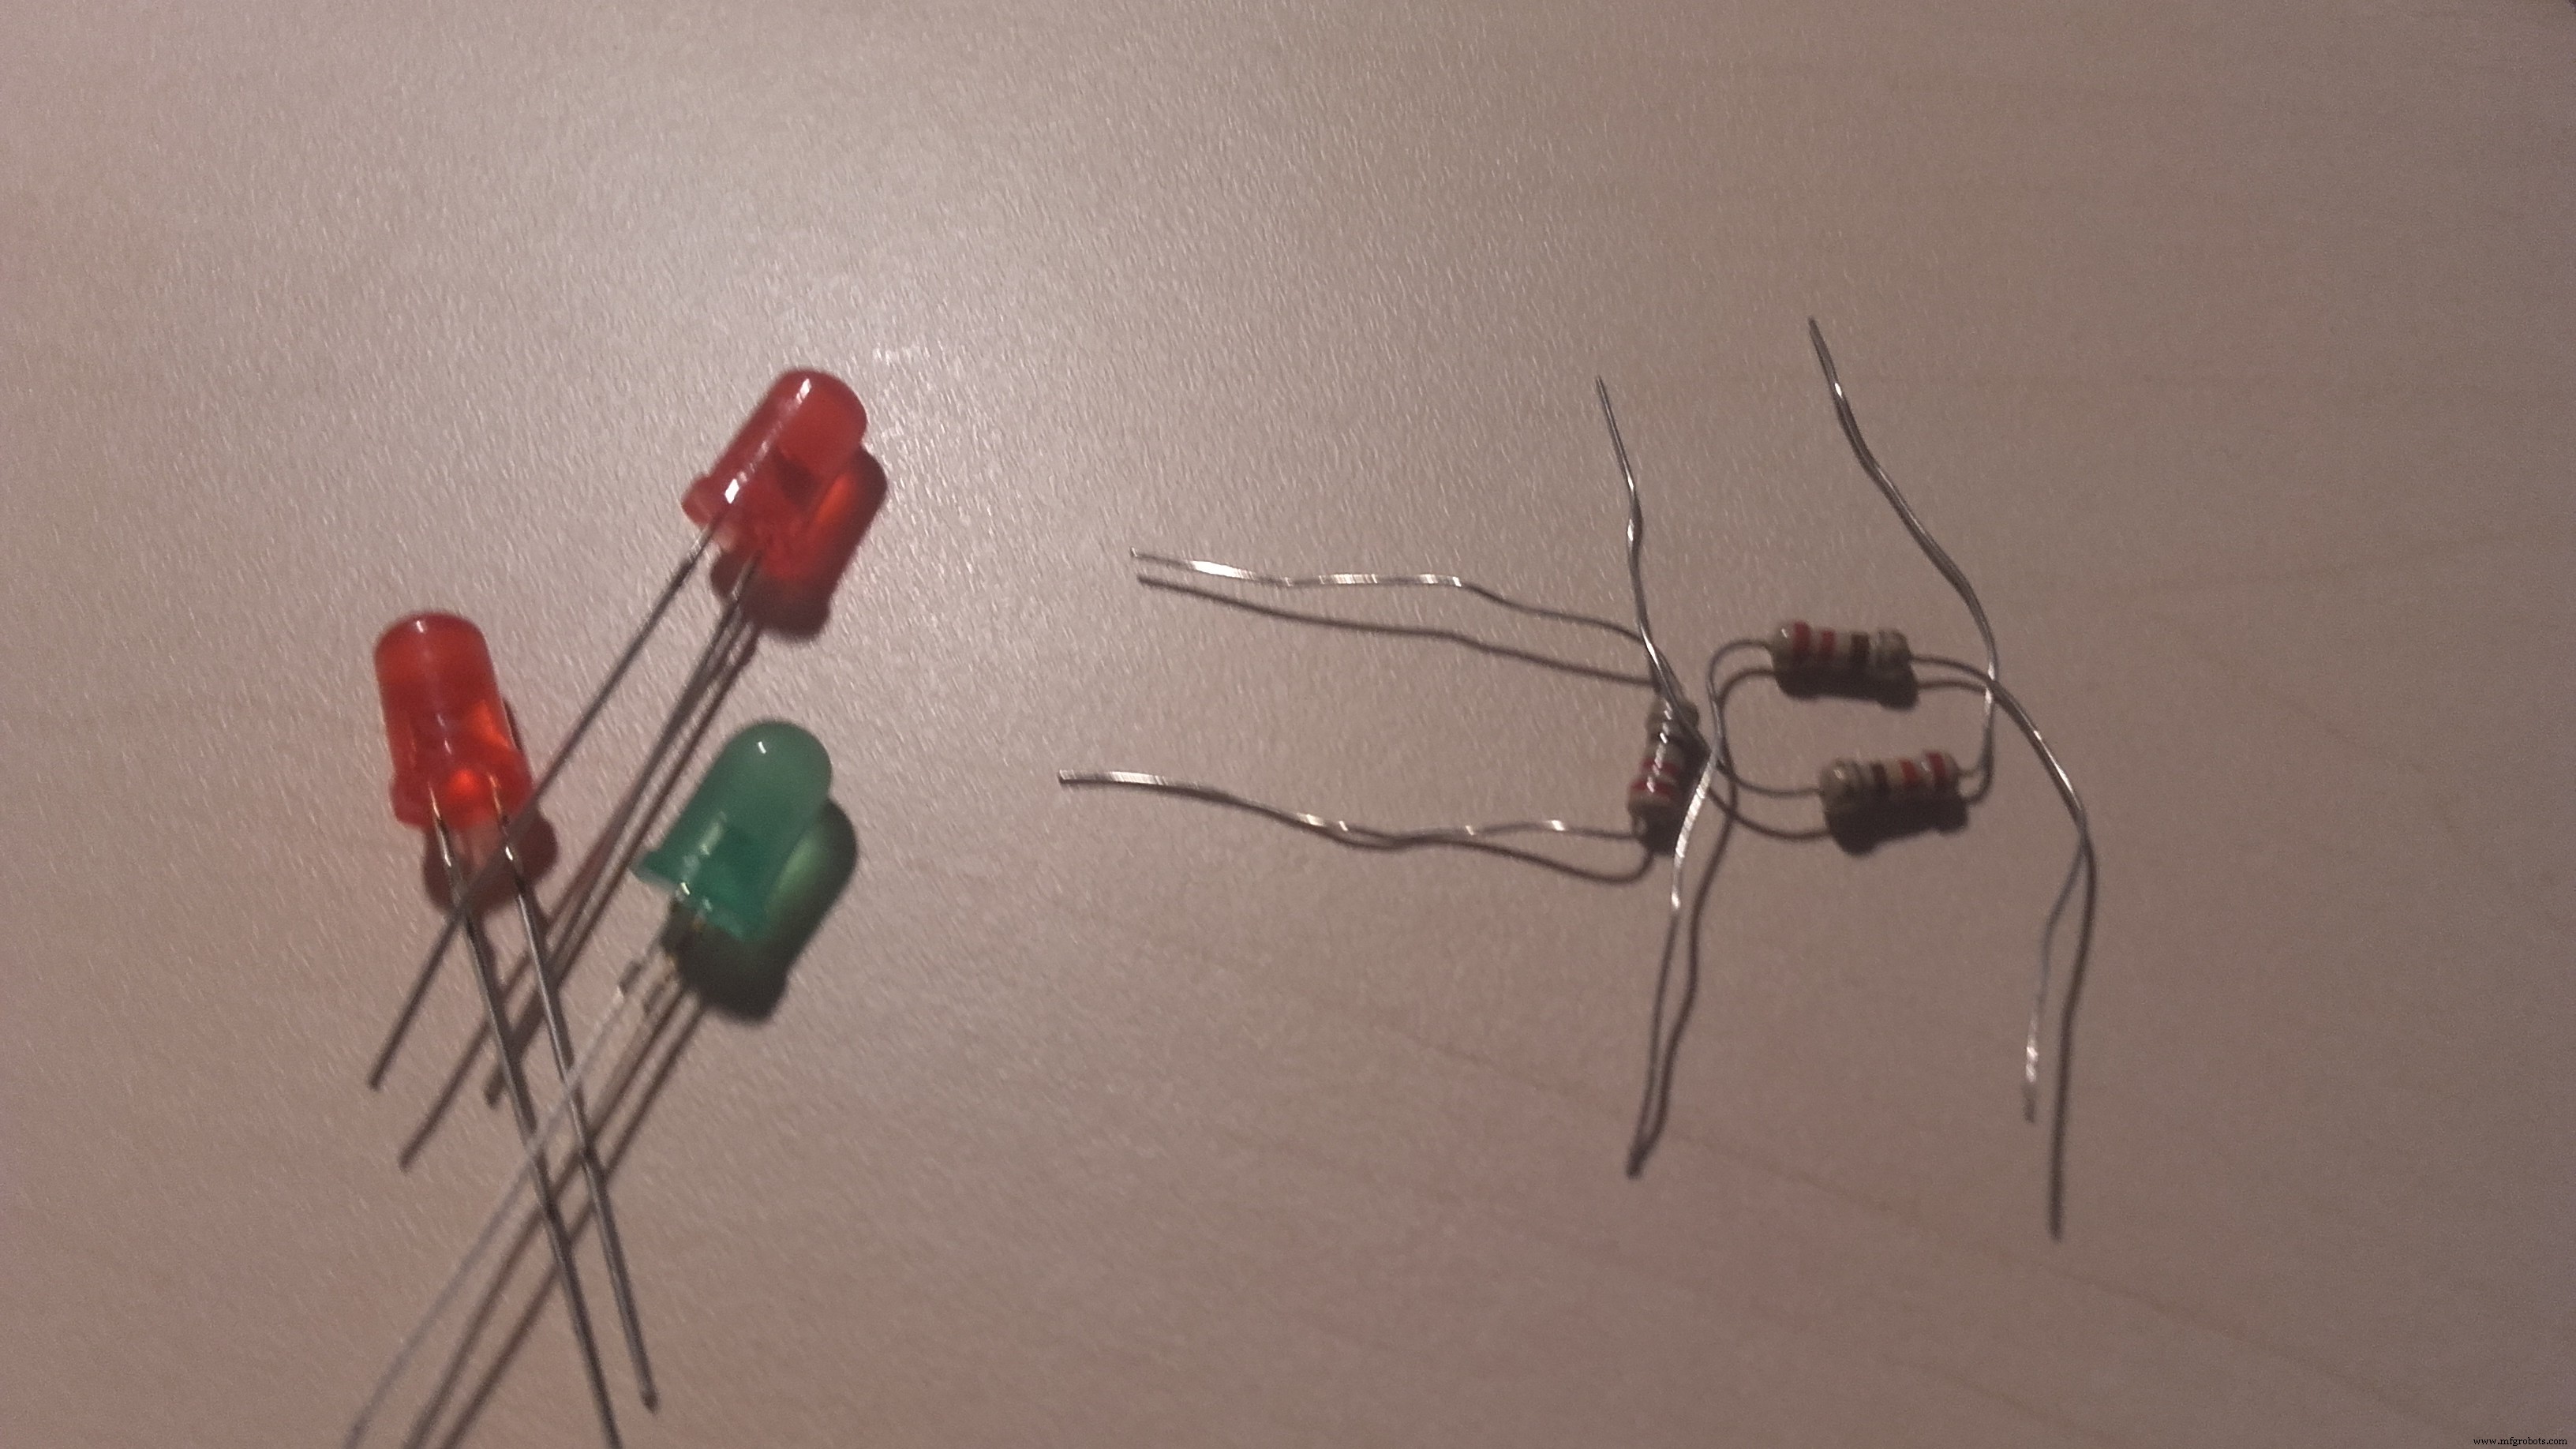
Estos son los resistores y los LED:
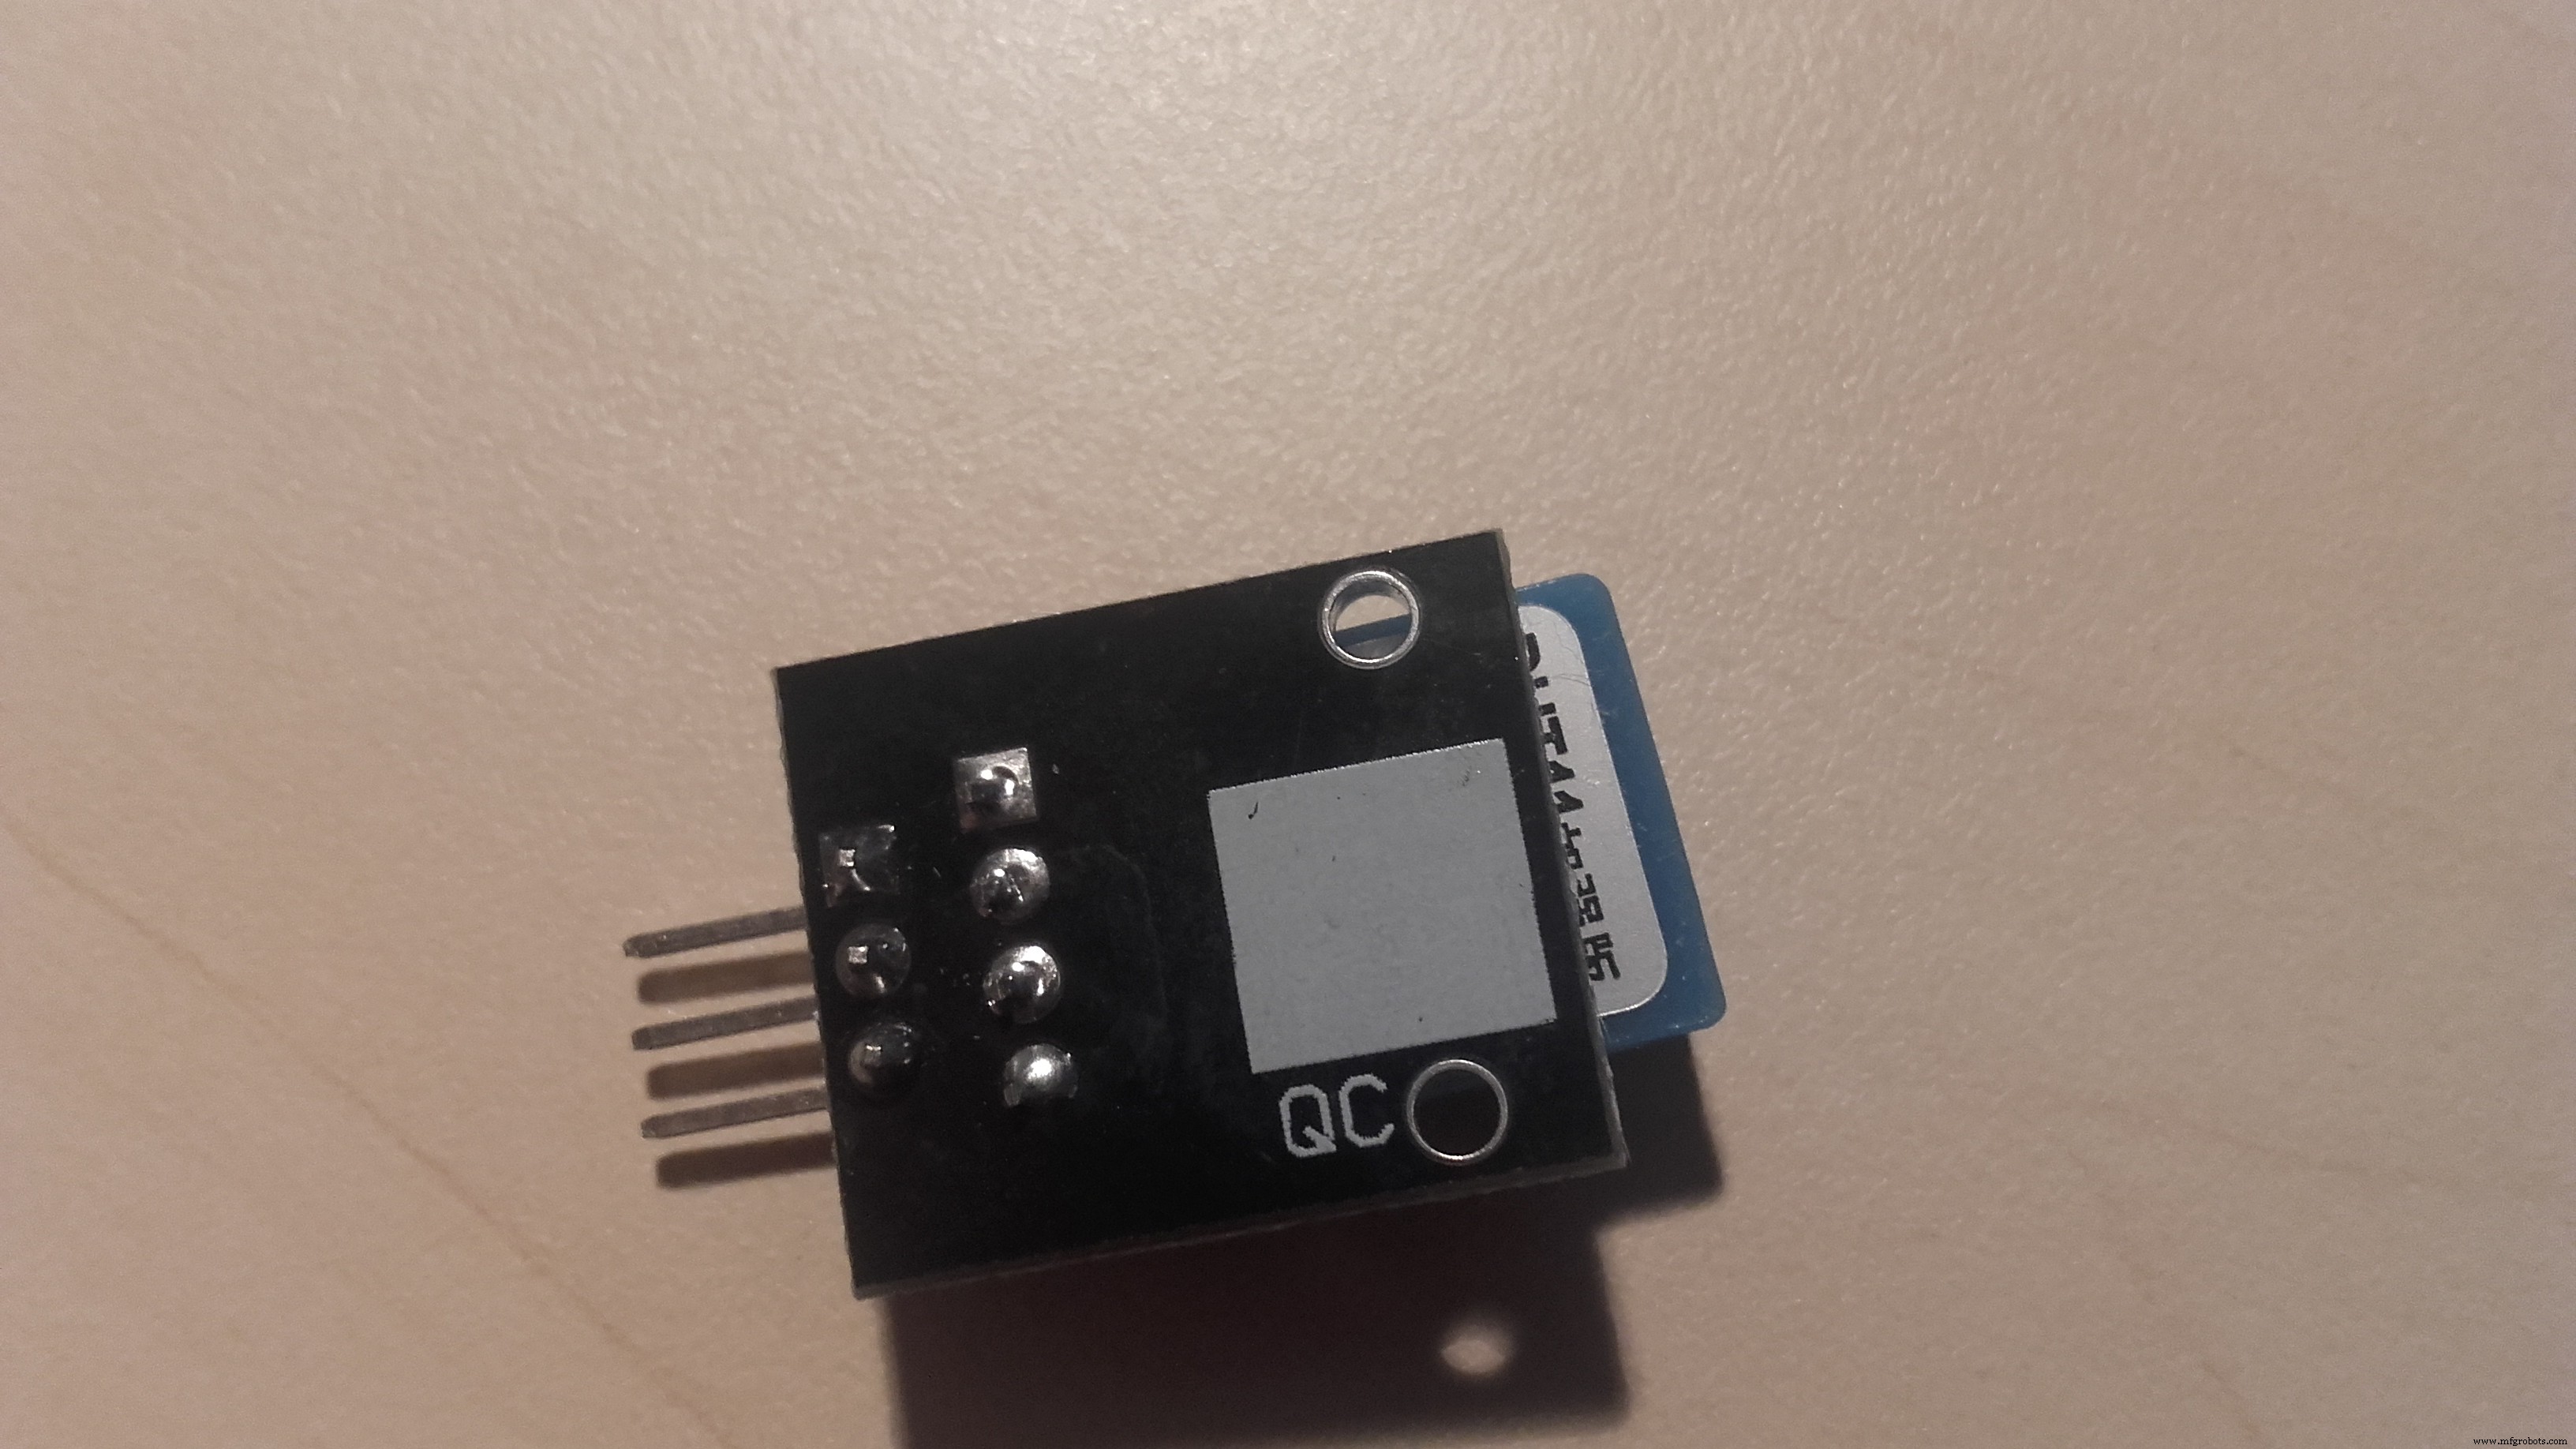
Y este es el altavoz piezoeléctrico:
Necesitará estas bibliotecas:
- https://github.com/adafruit/Adafruit_Sensor
- https://github.com/adafruit/DHT-sensor-library
Si te gusta este proyecto respeta el proyecto y sígueme!
Código
- DHT11 con LED y altavoz piezoeléctrico
DHT11 con LED y altavoz piezoeléctrico C / C ++
#include#include int speakerPin =9; int length =1; #define DHTPIN 5 # define DHTTYPE DHT11 # define LED_TOO_COLD A0 # define LED_PERFECT A1 # define LED_TOO_HOT A2DHT dht (DHTPIN , DHTTYPE); void setup () {Serial.begin (9600); Serial.println ("¡Prueba DHT11!"); dht.begin ();} bucle vacío () {pinMode (altavozPin, SALIDA); pinMode (A0, SALIDA); pinMode (A1, SALIDA); pinMode (A2, SALIDA); retraso (2000); flotar h =dht.readHumidity (); flotar t =dht.readTemperature (); flotar f =dht.readTemperature (verdadero); if (isnan (h) || isnan (t) || isnan (f)) {Serial.println ("¡No se pudo leer el sensor DHT!"); regreso; } Serial.print ("Humedad:"); Serial.print (h); Serial.print ("% \ t"); Serial.print ("Temperatura:"); Serial.print (t); Serial.println ("* C"); if (t <=20) {Serial.println ("¡Demasiado frío!"); escritura digital (A0, ALTA); digitalWrite (speakerPin, HIGH); retraso (1000); digitalWrite (speakerPin, LOW); escritura digital (A0, BAJA); } if (20 =29) {Serial.println ("¡Demasiado caliente!"); escritura digital (A2, ALTA); digitalWrite (speakerPin, HIGH); retraso (1000); digitalWrite (speakerPin, LOW); escritura digital (A2, BAJA); }}
Esquemas
dht11_with_leds_and_piezo_speaker_JRpaa8ISfy.fzz Renombrado un tmp36 a dht 11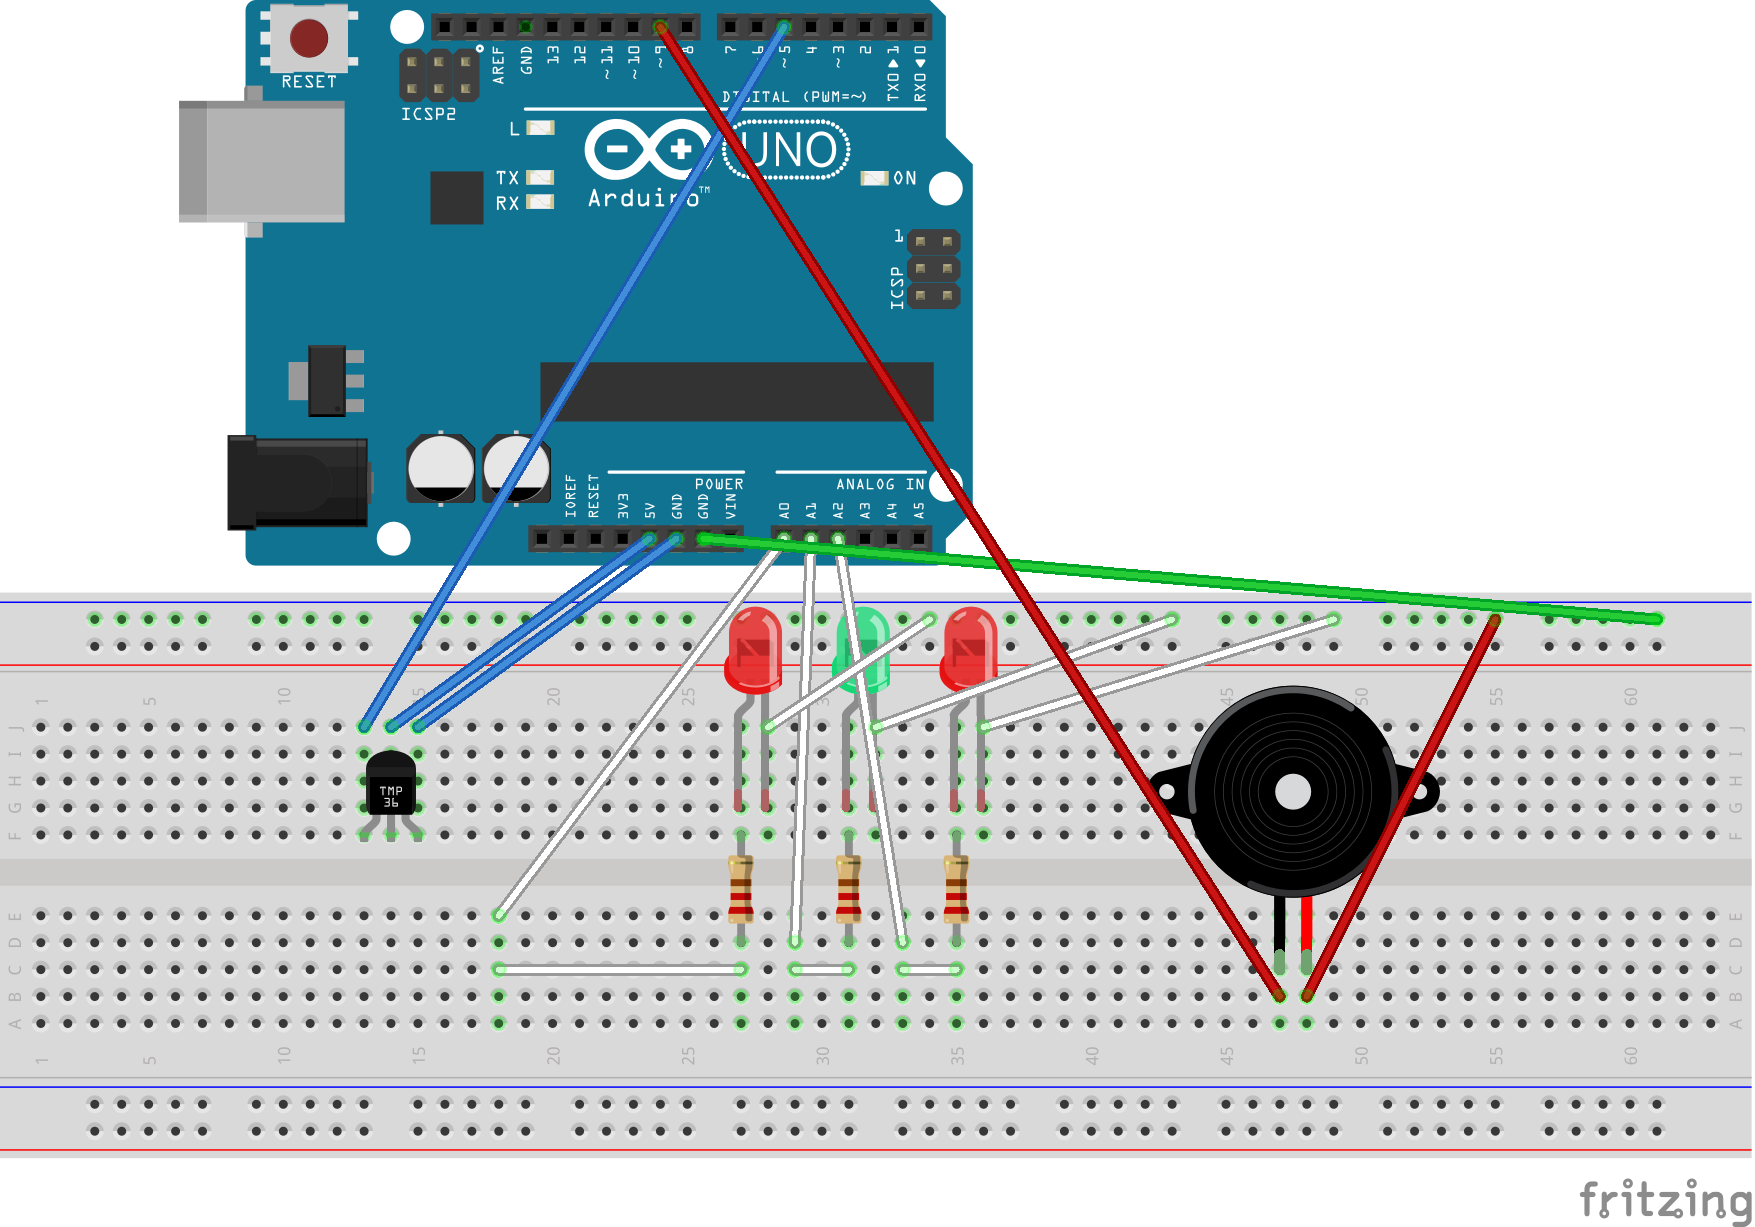
Sprout:maceta moderna con riego automático para interiores
Consola de juegos portátil | Clon de Arduboy
Proceso de manufactura
- Cree su primer IOT con una Raspberry Pi, un sensor DHT11 y Thingspeak.
- Aeroponía con Raspberry Pi y sensor de humedad
- Portenta y sensor de termopar (con MAX6675)
- Juego de giroscopio Arduino con MPU-6050
- Monitoreo de CO2 con sensor K30
- Unopad - Controlador MIDI Arduino con Ableton
- Registrador de datos de temperatura y humedad
- IOT - Smart Jar usando ESP8266, Arduino y sensor ultrasónico
- Sensor de obstáculos simple con Arduino
- Sensor capacitivo de huellas dactilares con Arduino o ESP8266
- Cómo leer la temperatura y la humedad en Blynk con DHT11